
The Ultimate Guide to Repairing Chimney Mortar
- matthew hudspeth
- Dec 15, 2025
- 3 min read

Updated: Feb 2
Understanding the Importance of Repairing Chimney Mortar
Mortar holds the bricks of your chimney together, creating a solid structure that withstands heat and weather. When mortar deteriorates, it compromises the chimney’s stability and can lead to dangerous issues such as:
Water infiltration causing internal damage
Loose bricks that may fall or shift
Reduced chimney efficiency and draft problems
Increased risk of chimney fires due to gaps and cracks
By addressing mortar damage early, you protect your home and extend the life of your chimney. Regular inspections and timely repairs are essential to avoid costly replacements.

How to Repair Chimney Mortar Safely and Effectively
Repairing chimney mortar requires careful preparation and the right materials. Here is a step-by-step approach to ensure a durable repair:
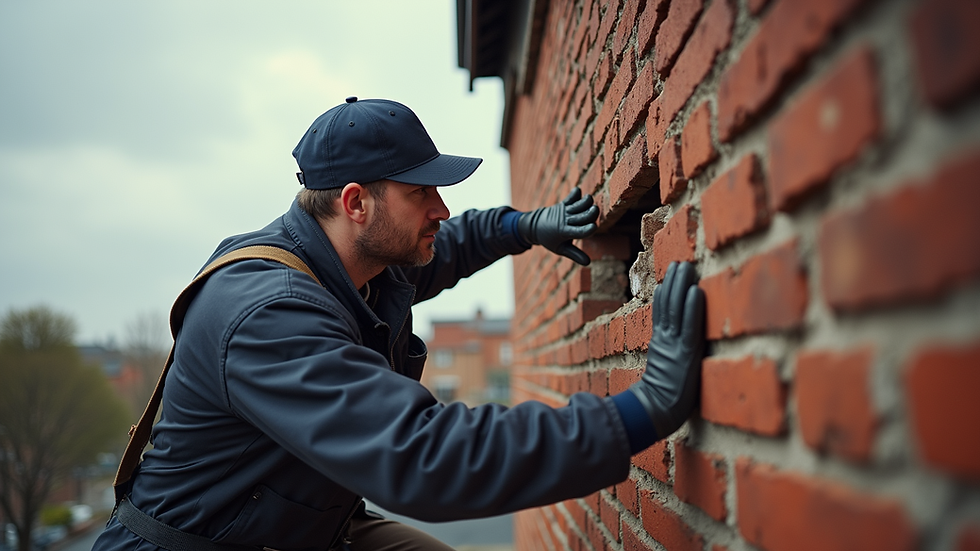
Inspect the Chimney Thoroughly
Use a flashlight and a sturdy ladder to examine all mortar joints. Look for cracks, crumbling, or missing mortar. Mark the areas that need repair.
Clean the Joints
Remove loose mortar and debris using a hammer and chisel or a mortar rake. Clean the joints with a wire brush to ensure good adhesion for the new mortar.
Choose the Right Mortar Mix
Use a high-quality, heat-resistant mortar designed for chimneys. Avoid standard cement mixes, as they are too rigid and can crack under heat stress.
Mix the Mortar Properly
Follow the manufacturer’s instructions to mix the mortar to the right consistency. It should be firm but workable.
Apply the Mortar
Use a pointing trowel to press the mortar firmly into the joints. Fill all gaps completely and shape the mortar to match the existing joints.
Allow Proper Curing
Keep the repaired area moist for several days to allow the mortar to cure slowly and gain strength.
Final Inspection
After curing, inspect the repair for any gaps or cracks. Touch up as needed.
By following these steps, you can restore the integrity of your chimney and prevent further damage.
Tools and Materials Needed for Repairing Chimney Mortar
Before starting your repair, gather the following tools and materials to ensure a smooth process:
Hammer and chisel or mortar rake for removing old mortar
Wire brush for cleaning joints
Heat-resistant chimney mortar mix
Pointing trowel for applying mortar
Bucket and mixing tool
Safety goggles and gloves
Ladder or scaffolding for safe access
Spray bottle for moistening mortar during curing
Having the right tools on hand will make the repair easier and more effective. Safety equipment is essential to protect yourself during the work.

When to Call a Professional for Chimney Mortar Repair
While minor mortar repairs can be a DIY project, some situations require professional expertise:
Extensive mortar damage covering large areas
Structural issues with the chimney
Difficulty accessing the chimney safely
Signs of water damage inside the home
Persistent smoke or draft problems
Professionals have the experience and equipment to handle complex repairs safely and thoroughly. They can also perform a full chimney inspection to identify hidden issues. If you are unsure about the extent of damage or your ability to repair it, contacting a trusted chimney service is the best course of action.
Maintaining Your Chimney After Mortar Repair
Once you have repaired your chimney mortar, ongoing maintenance is key to preserving your investment:
Schedule annual chimney inspections and cleanings
Check mortar joints regularly for new cracks or damage
Keep the chimney cap and flashing in good condition to prevent water entry
Avoid burning wet or treated wood that can accelerate mortar deterioration
Address any signs of damage promptly to prevent escalation
Regular care will keep your chimney safe, efficient, and looking good for years to come.
If you want to learn more about professional chimney mortar repair, visit Matt’s Melbourne Chimney Sweeping for expert advice and services tailored to your home’s needs.
Ensuring Long-Term Safety and Efficiency
Repairing your chimney mortar is not just about aesthetics; it is a critical safety measure. Properly maintained mortar joints protect your home from fire hazards, water damage, and structural problems. By taking the time to inspect, repair, and maintain your chimney, you ensure that your fireplace or wood-burning stove operates safely and efficiently.
Remember, a well-cared-for chimney adds value to your home and provides peace of mind during the colder months. Whether you choose to tackle minor repairs yourself or hire a professional, prioritizing chimney mortar repair is an investment in your home’s safety and comfort.
Conclusion: The Importance of Regular Maintenance
In conclusion, regular maintenance of your chimney mortar is essential. It not only enhances the appearance of your chimney but also ensures its functionality and safety. By being proactive, you can avoid costly repairs and keep your home safe. Make it a habit to inspect your chimney and address any issues promptly. Your fireplace or wood-burning stove will thank you for it.


Comments